Cheap Water Effects for Inexpensive Terrain
It all started, as many things do, by hearing someone else talk about an experiment. In this case, it was by a Twitter user named @qyjari (Anne Palmer):

Well, that sounded brilliant! Water effects using cheap Elmer's glue? Too good to be true? I was intrigued.
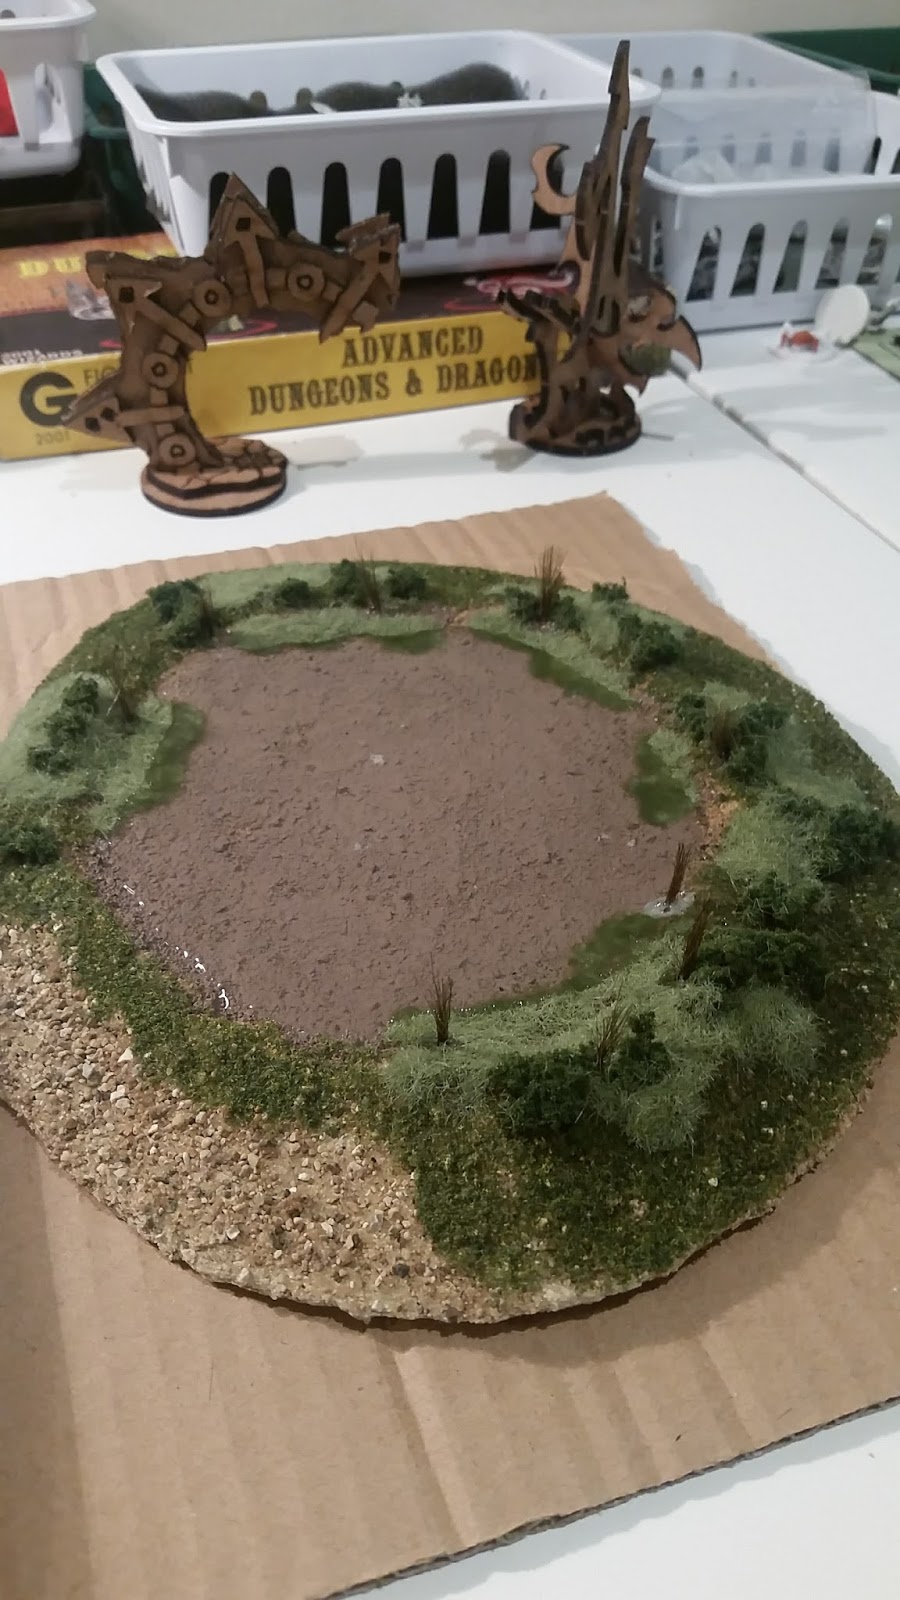
Then I signed up for a GenCon class given by Dan from Tectonic Studios. The class description said "leave with one or two medium pieces of terrain and scatter pieces." Sure enough, I did, one of which was a pond shaped depression. It was built from cardboard, with a ring of cardboard to form the rim and covered in wood putty.

That's when Anne's tweet popped back into my head. Here was an opportunity to see how well Elmer's Clear Glue would work. This was a non-critical piece of terrain to work with. If it didn't work so well, no loss!
So off to Meiers during the "Back to School" sales to pick up a couple of bottles of Elmer's Clear School Glue.
First, I fully flocked and decorated my pond, including some static grass and tall grass that would be in the water, like a real pond.
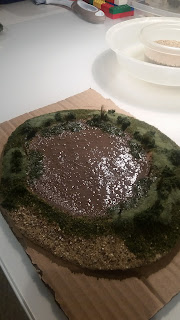
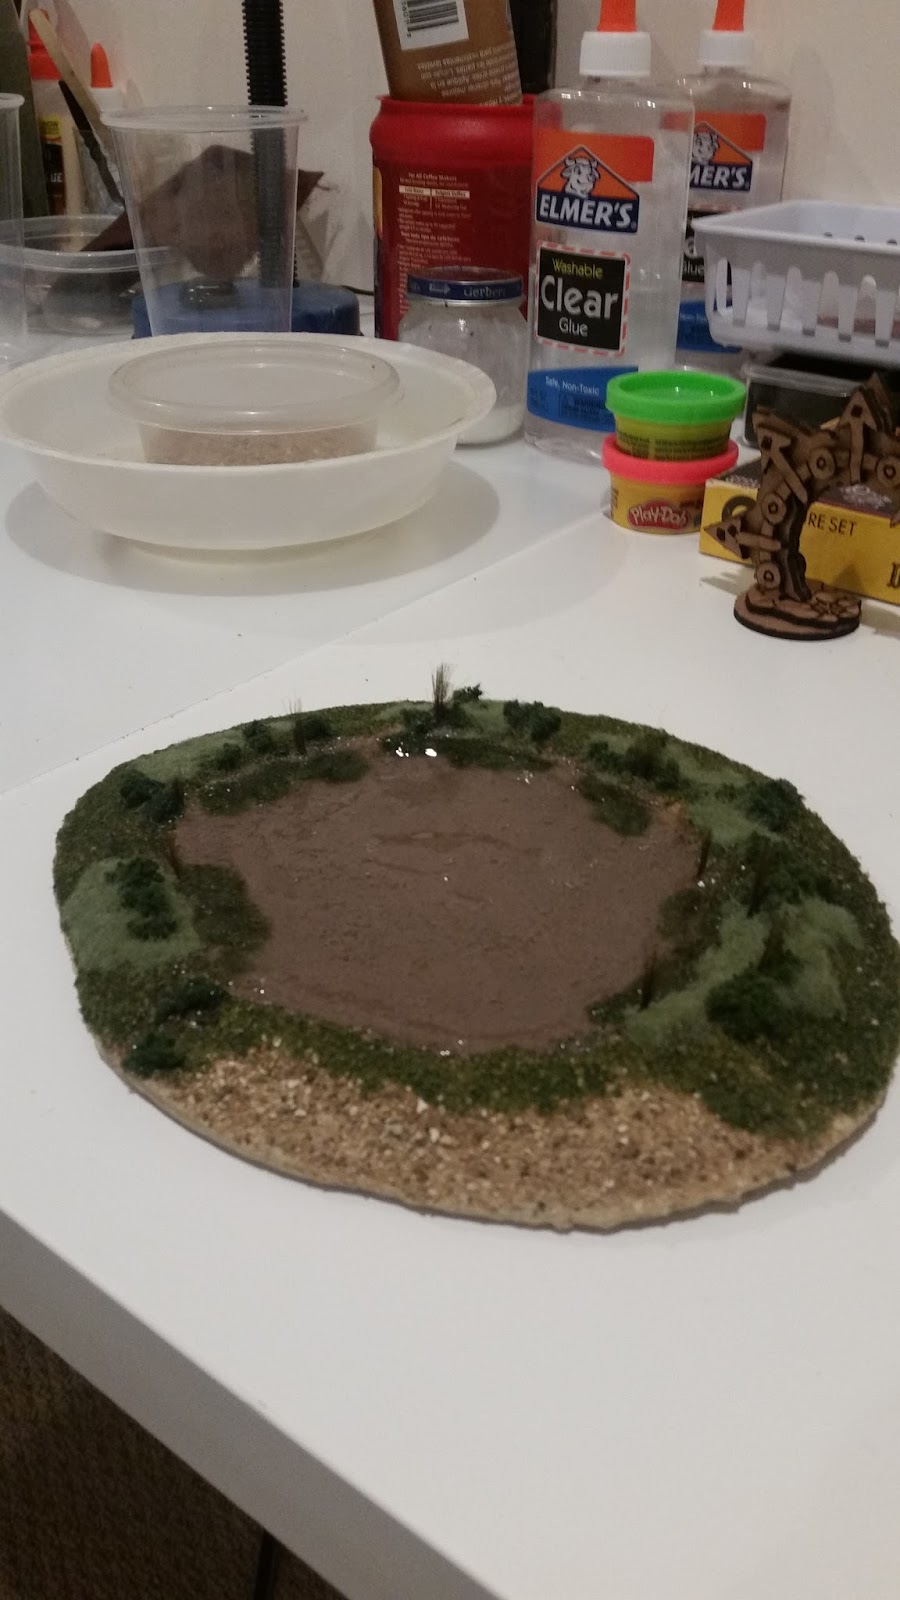
Then I laid down the first layer. I went fairly thick, not sure how it would all work. Immediately, I saw that the white glue that I had used for the terrain turned wet and white again! I wasn't sure if this would end up going clear again, but it did after fully drying.

The first coat took almost two days to fully dry and as you can see, like most white glues, it shrank. Then, looking at my hobby light, I got smart. Subsequent coats, I put the piece under the light, by about 6 to 8 inches, to give it more heat to dry quicker. This was a good idea, as it turned the drying time from days to hours.
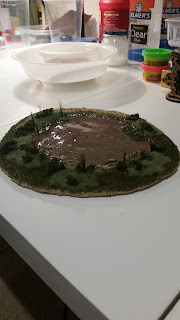
The second layer goes on. This time, I was a bit more careful and not quite as heavy/thick of a layer.

One thing I noticed, though, was that my choice of the bottom base of the piece was coming back to haunt me. I had used a single layer of cardboard. White glue shrinks. While it's gripping a surface, if that surface cannot resist the pull, then curling happens. As was the case here. So, the fix was to turn the piece over and put a thick coat of regular white glue on the bottom. This resolved some, but not all of the curl. It's just hard to do, especially with that much glue on the top in the center.

After four applications of the clear glue, I called it good. How did it turn out? Well, see what you think...

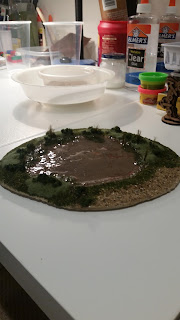
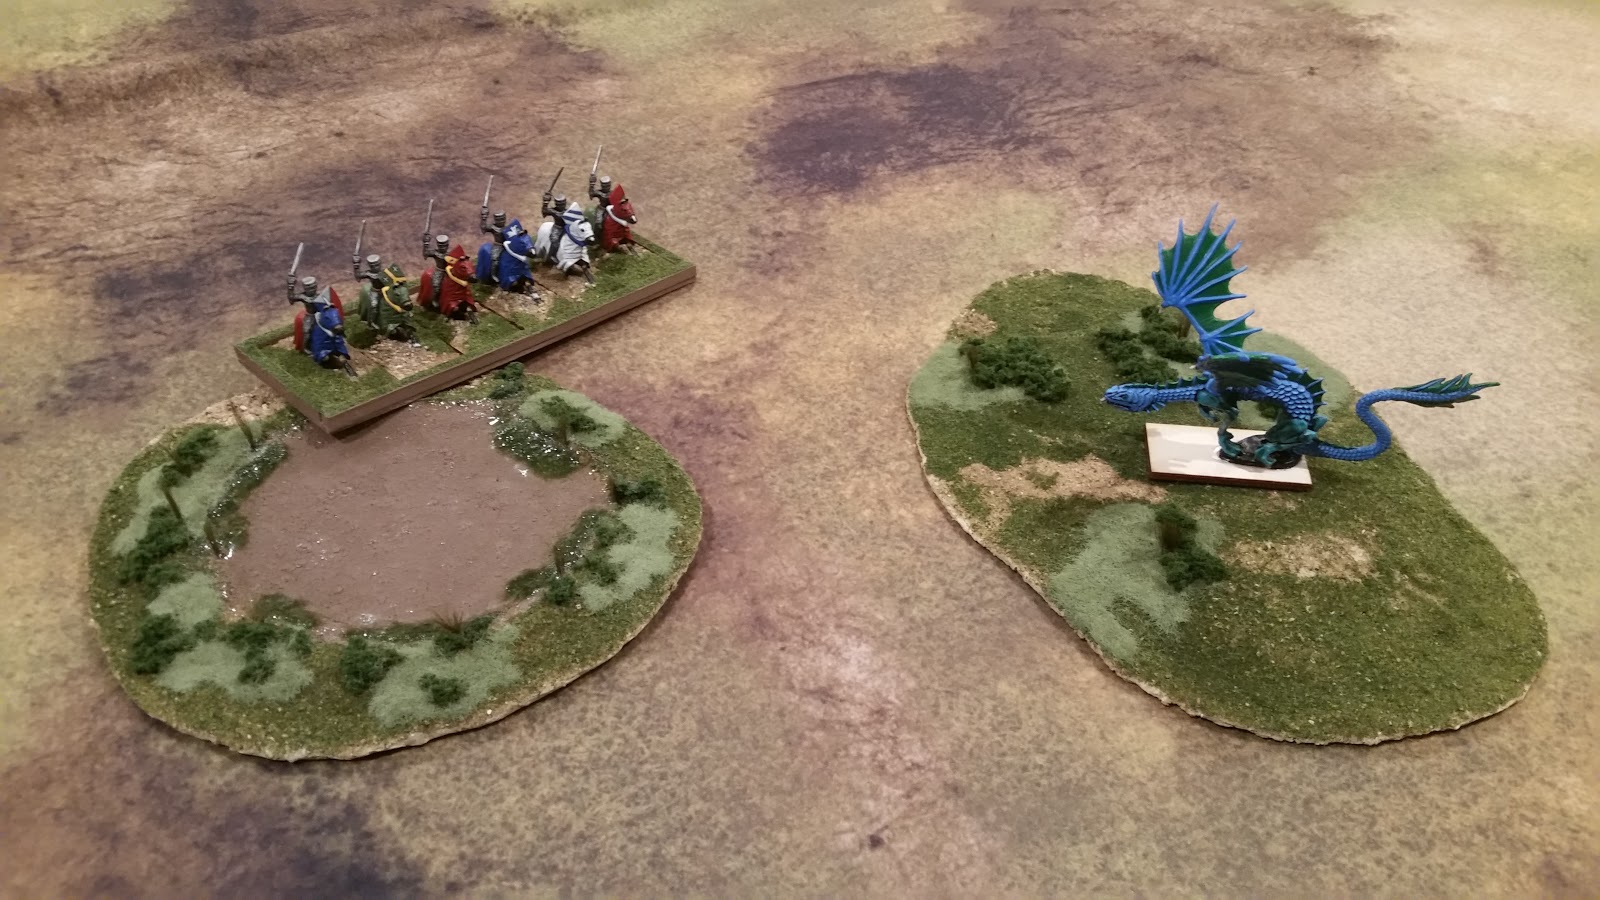
First picture is with 15mm figures (and both pieces that I built from the GenCon class). 2nd is with 25mm figures.

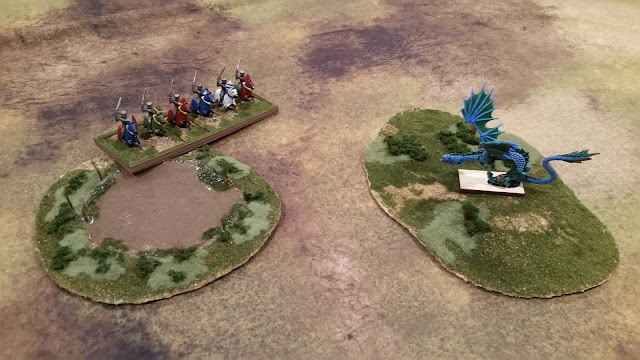
For only $4 for water effects, I think it turned out great! It's very clear, pretty hard and I have half my bottle left. It was dead simple to work with - no mixing or measuring. There were a few bubbles, but nothing too bad. It was definitely self leveling as well.
I don't know how this would work for a big project, but I'm going to keep experimenting with using the clear glue, it wasn't that hard to work with. Hope you find it useful - if you try it, let me know how it turns out!

Well, that sounded brilliant! Water effects using cheap Elmer's glue? Too good to be true? I was intrigued.
Then I signed up for a GenCon class given by Dan from Tectonic Studios. The class description said "leave with one or two medium pieces of terrain and scatter pieces." Sure enough, I did, one of which was a pond shaped depression. It was built from cardboard, with a ring of cardboard to form the rim and covered in wood putty.

That's when Anne's tweet popped back into my head. Here was an opportunity to see how well Elmer's Clear Glue would work. This was a non-critical piece of terrain to work with. If it didn't work so well, no loss!
So off to Meiers during the "Back to School" sales to pick up a couple of bottles of Elmer's Clear School Glue.
First, I fully flocked and decorated my pond, including some static grass and tall grass that would be in the water, like a real pond.
Then I laid down the first layer. I went fairly thick, not sure how it would all work. Immediately, I saw that the white glue that I had used for the terrain turned wet and white again! I wasn't sure if this would end up going clear again, but it did after fully drying.
The first coat took almost two days to fully dry and as you can see, like most white glues, it shrank. Then, looking at my hobby light, I got smart. Subsequent coats, I put the piece under the light, by about 6 to 8 inches, to give it more heat to dry quicker. This was a good idea, as it turned the drying time from days to hours.

The second layer goes on. This time, I was a bit more careful and not quite as heavy/thick of a layer.

One thing I noticed, though, was that my choice of the bottom base of the piece was coming back to haunt me. I had used a single layer of cardboard. White glue shrinks. While it's gripping a surface, if that surface cannot resist the pull, then curling happens. As was the case here. So, the fix was to turn the piece over and put a thick coat of regular white glue on the bottom. This resolved some, but not all of the curl. It's just hard to do, especially with that much glue on the top in the center.

After four applications of the clear glue, I called it good. How did it turn out? Well, see what you think...


First picture is with 15mm figures (and both pieces that I built from the GenCon class). 2nd is with 25mm figures.
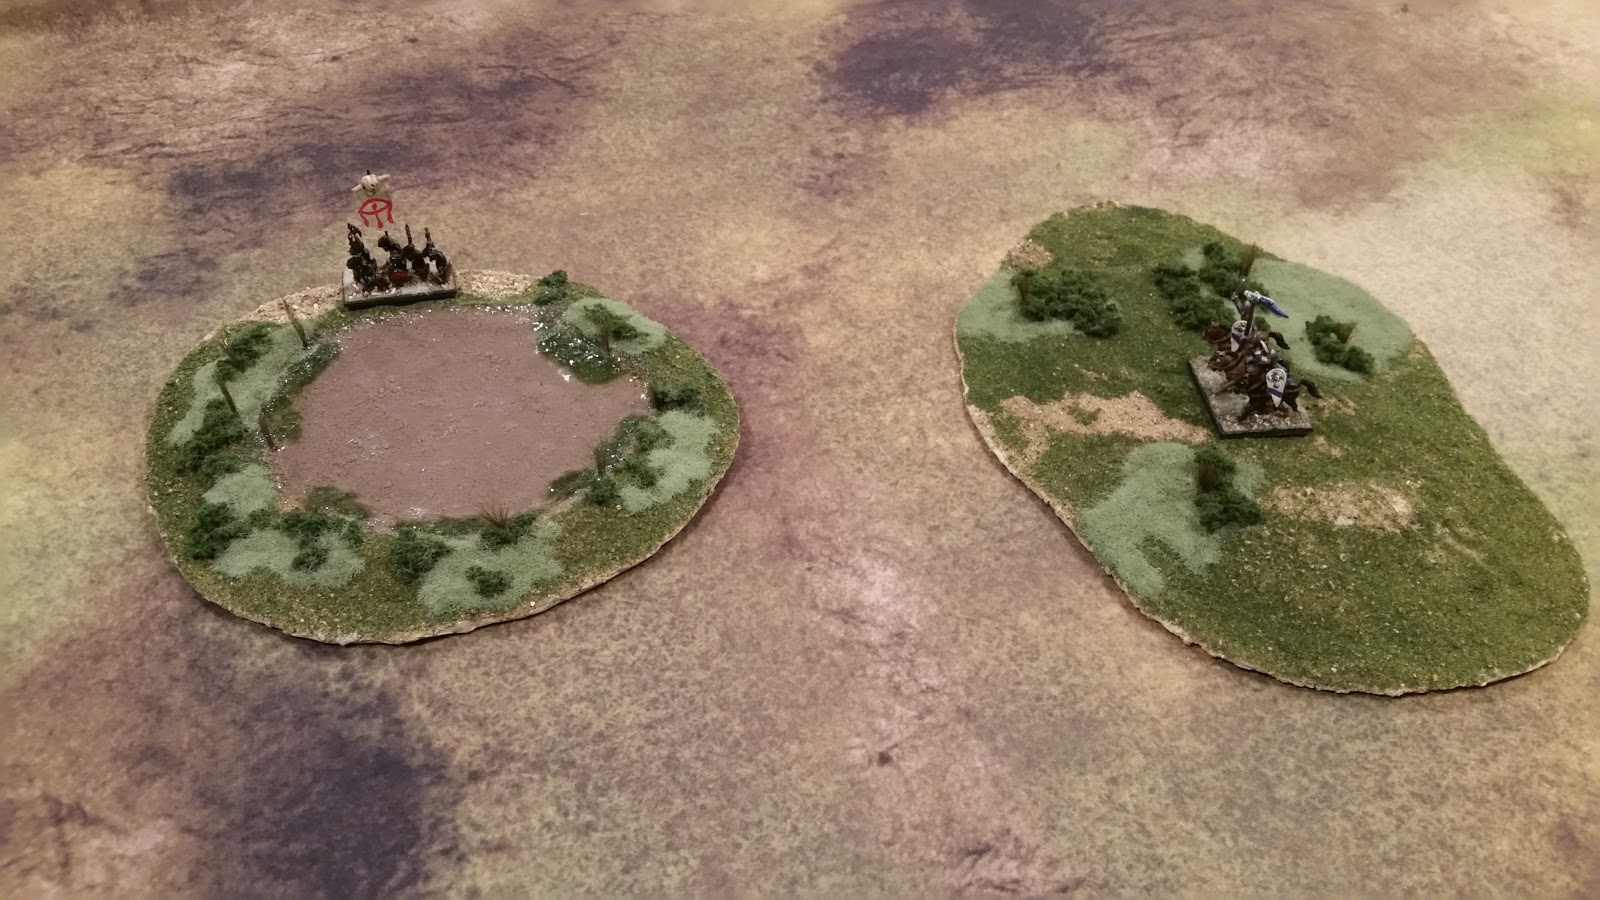
For only $4 for water effects, I think it turned out great! It's very clear, pretty hard and I have half my bottle left. It was dead simple to work with - no mixing or measuring. There were a few bubbles, but nothing too bad. It was definitely self leveling as well.
I don't know how this would work for a big project, but I'm going to keep experimenting with using the clear glue, it wasn't that hard to work with. Hope you find it useful - if you try it, let me know how it turns out!
A great money saving tip, so thanks. Maybe spraying fixative on the bottom before painting and applying glue would reduce curling?
ReplyDeleteThat sounds interesting! I tried with a thick coat of white glue/PVA on the bottom after it curled. I have never heard of fixative, I'll give that a look.
Delete